Step 1: Access the Dashboard
After you create your first app, MCX Push redirects you to the dashboard to continue setup. If navigating from another page:- Open the AppExchange section.
- Launch the MCX Extension.
- Select MCX Push from the list of MCX apps.
- In the side navigation, select the app you want to configure.
Step 2: Configure Your App Setup (Optional)
Make your website installable as a and customise its appearance when installed. This step is optional, and you can return to update these settings anytime.Without this step, your site isn’t installable as a but you can still send push notifications.
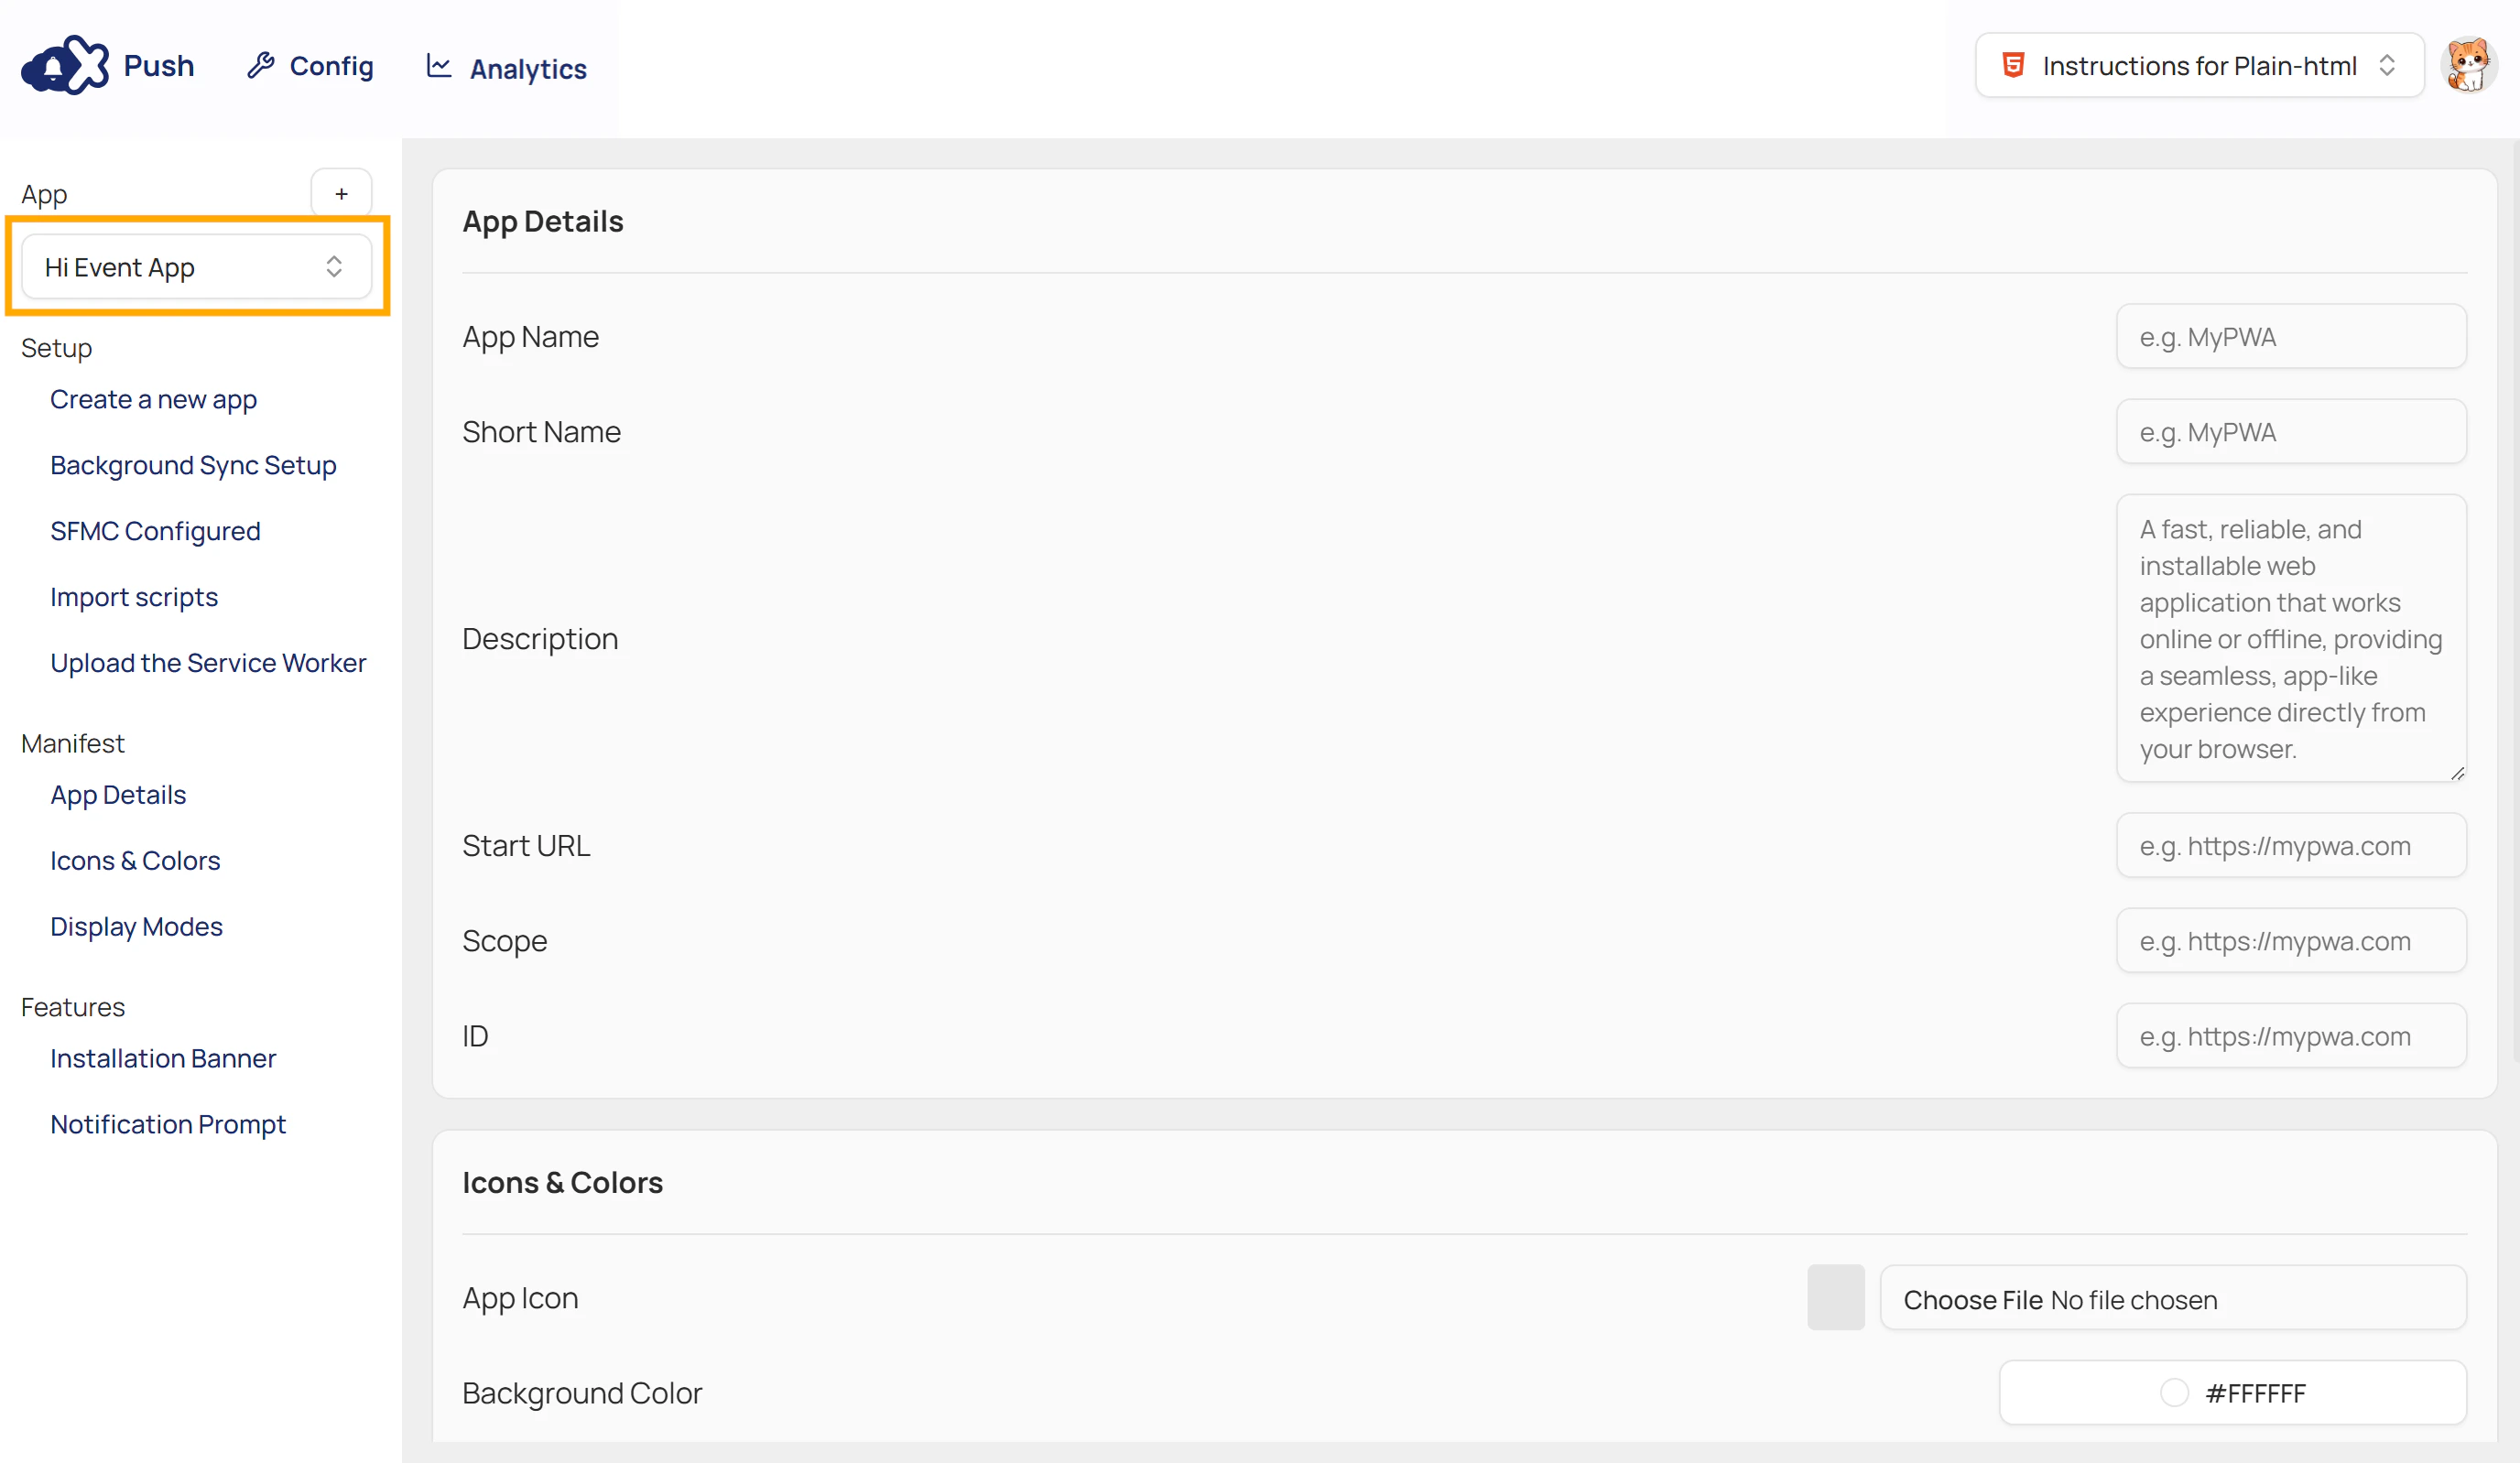
- From the side navigation, navigate to Manifest and click App Details.
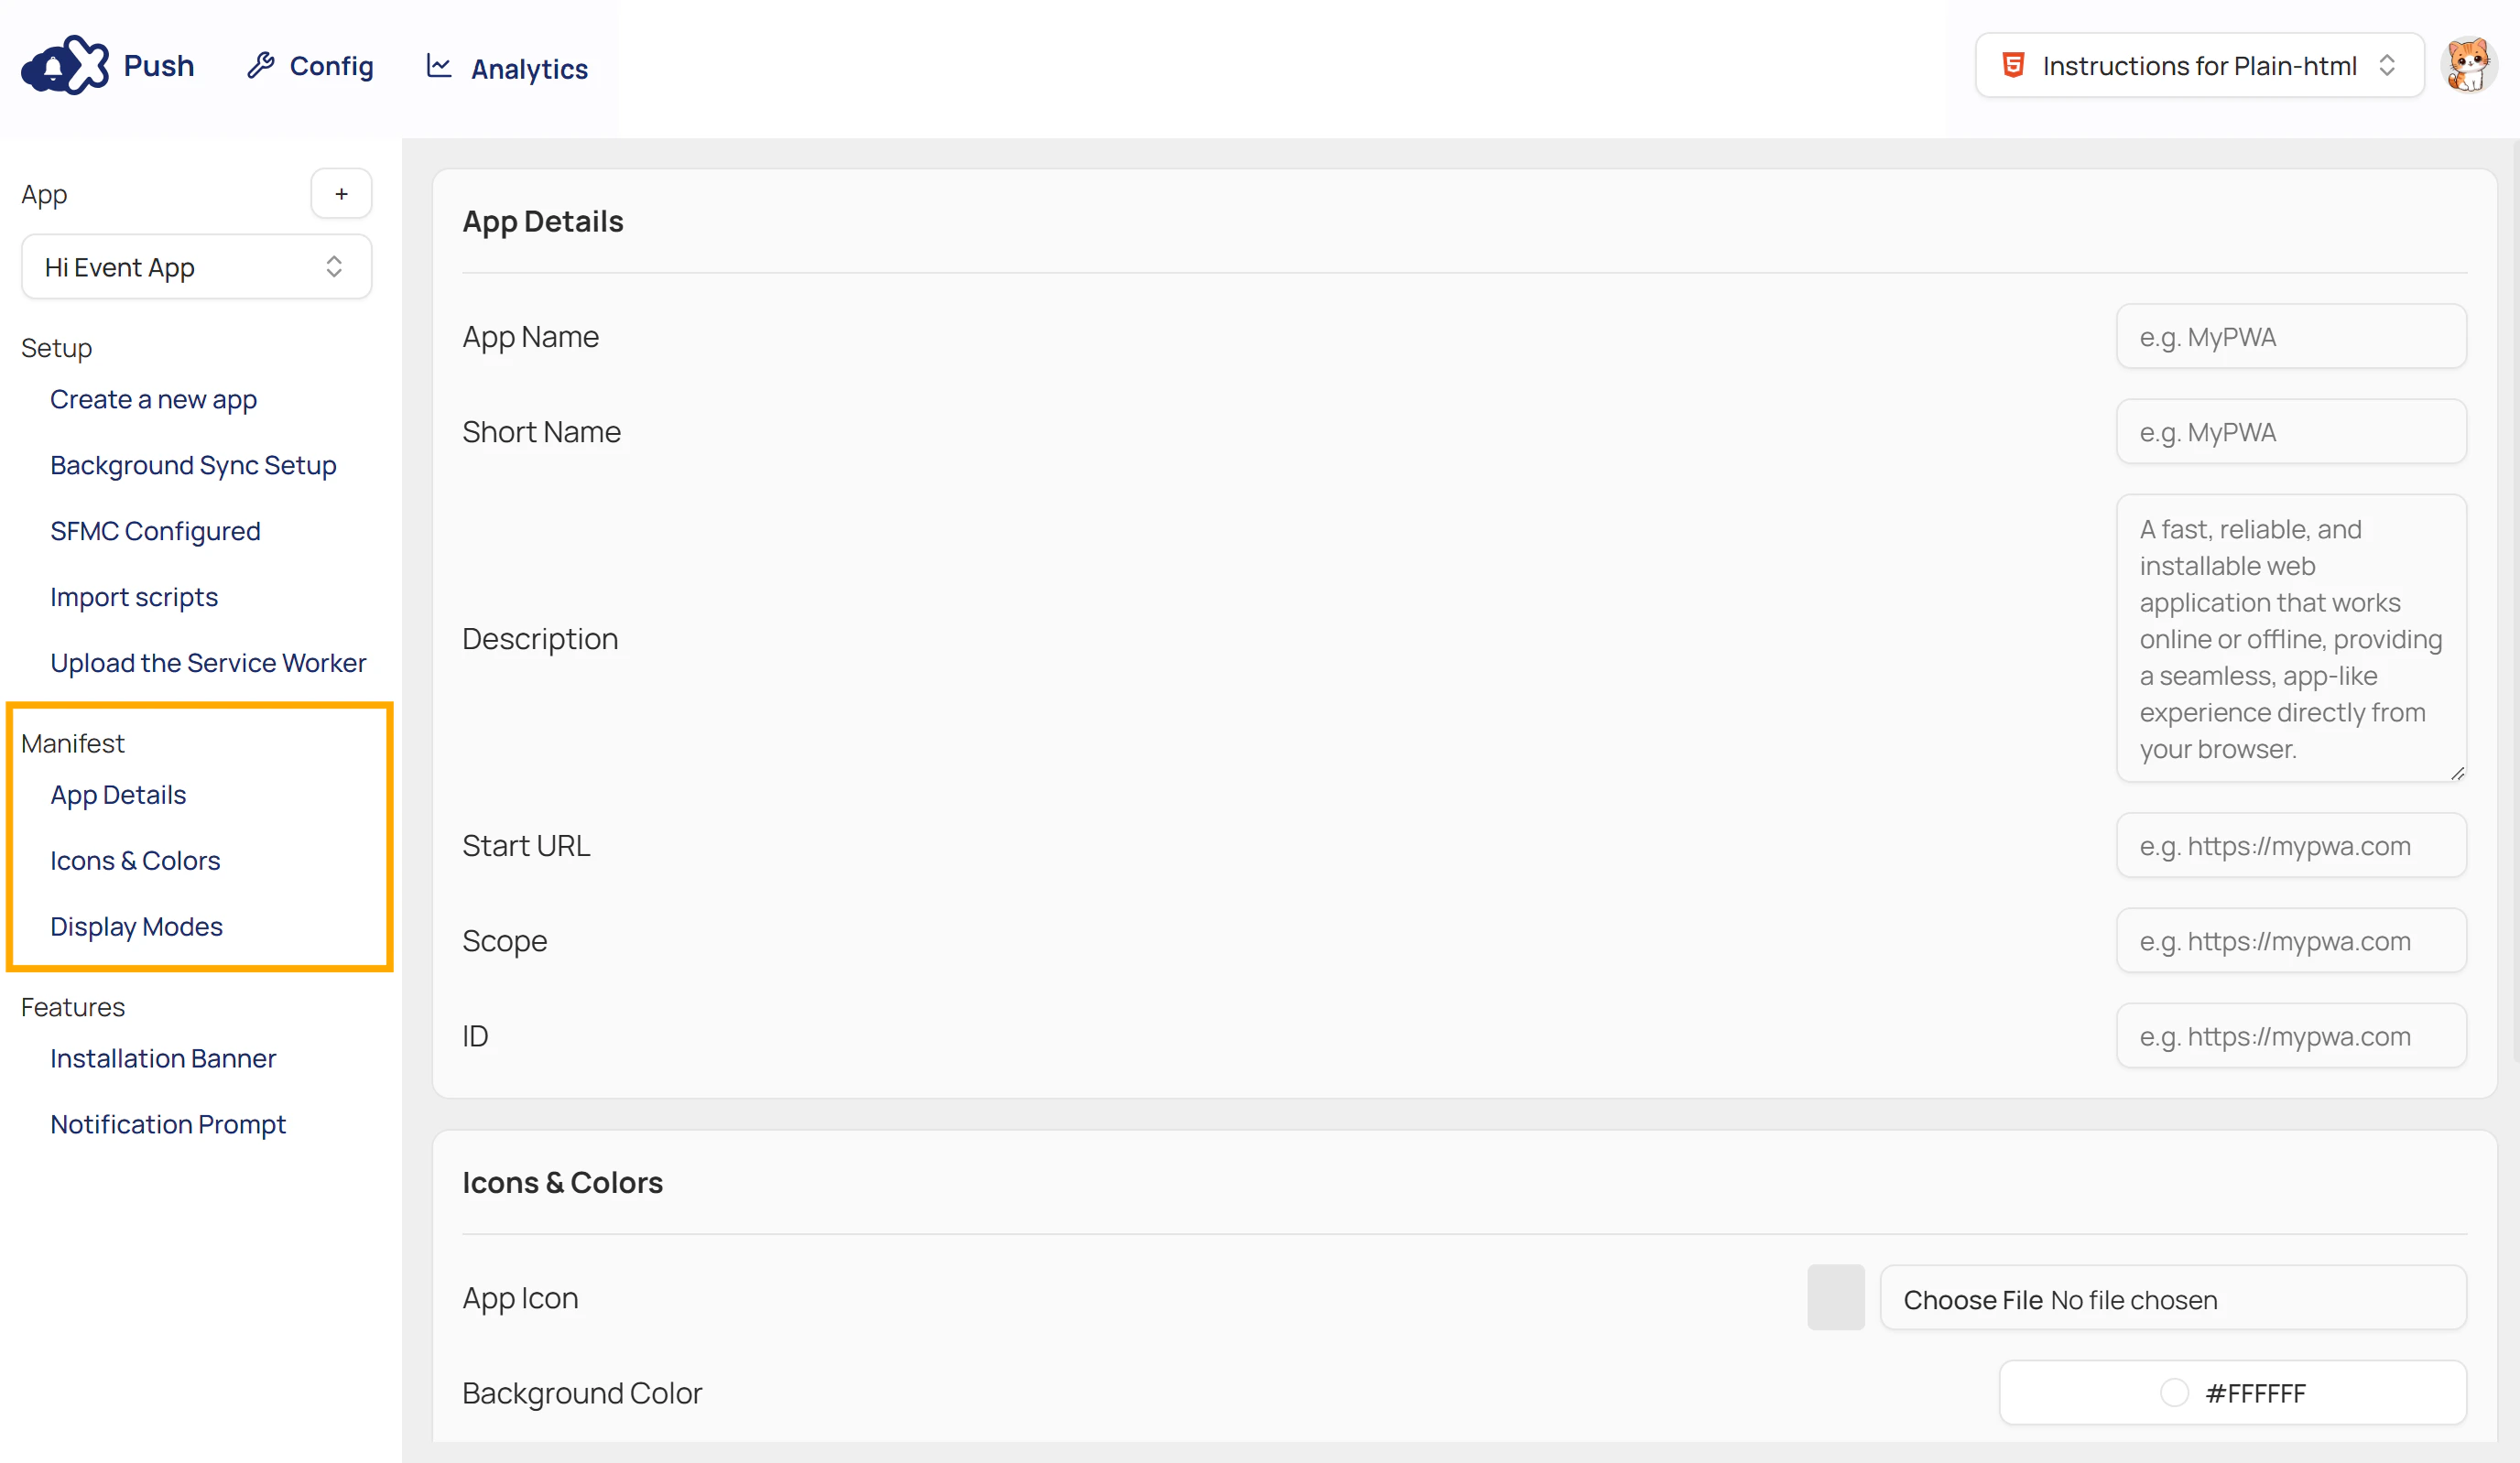
- Fill in the fields in each section to set up the look and behaviour of your once subscribers install it.
App Details
| Field | Description |
|---|---|
| App Name | The full name displayed on install prompts and device settings. |
| Short Name | A shorter label displayed beneath the app icon on a user’s device home screen. |
| Description | A brief explanation of what your app does. Example: A fast, reliable, and installable web application that works online or offline, providing a seamless, app-like experience directly from your browser. |
| Start URL | The entry point that opens when the installed app is launched. |
| Scope | Defines which part of your website is included in the . By default, this is set to your entire site. |
| ID | A unique identifier for the app, typically set to the domain. |
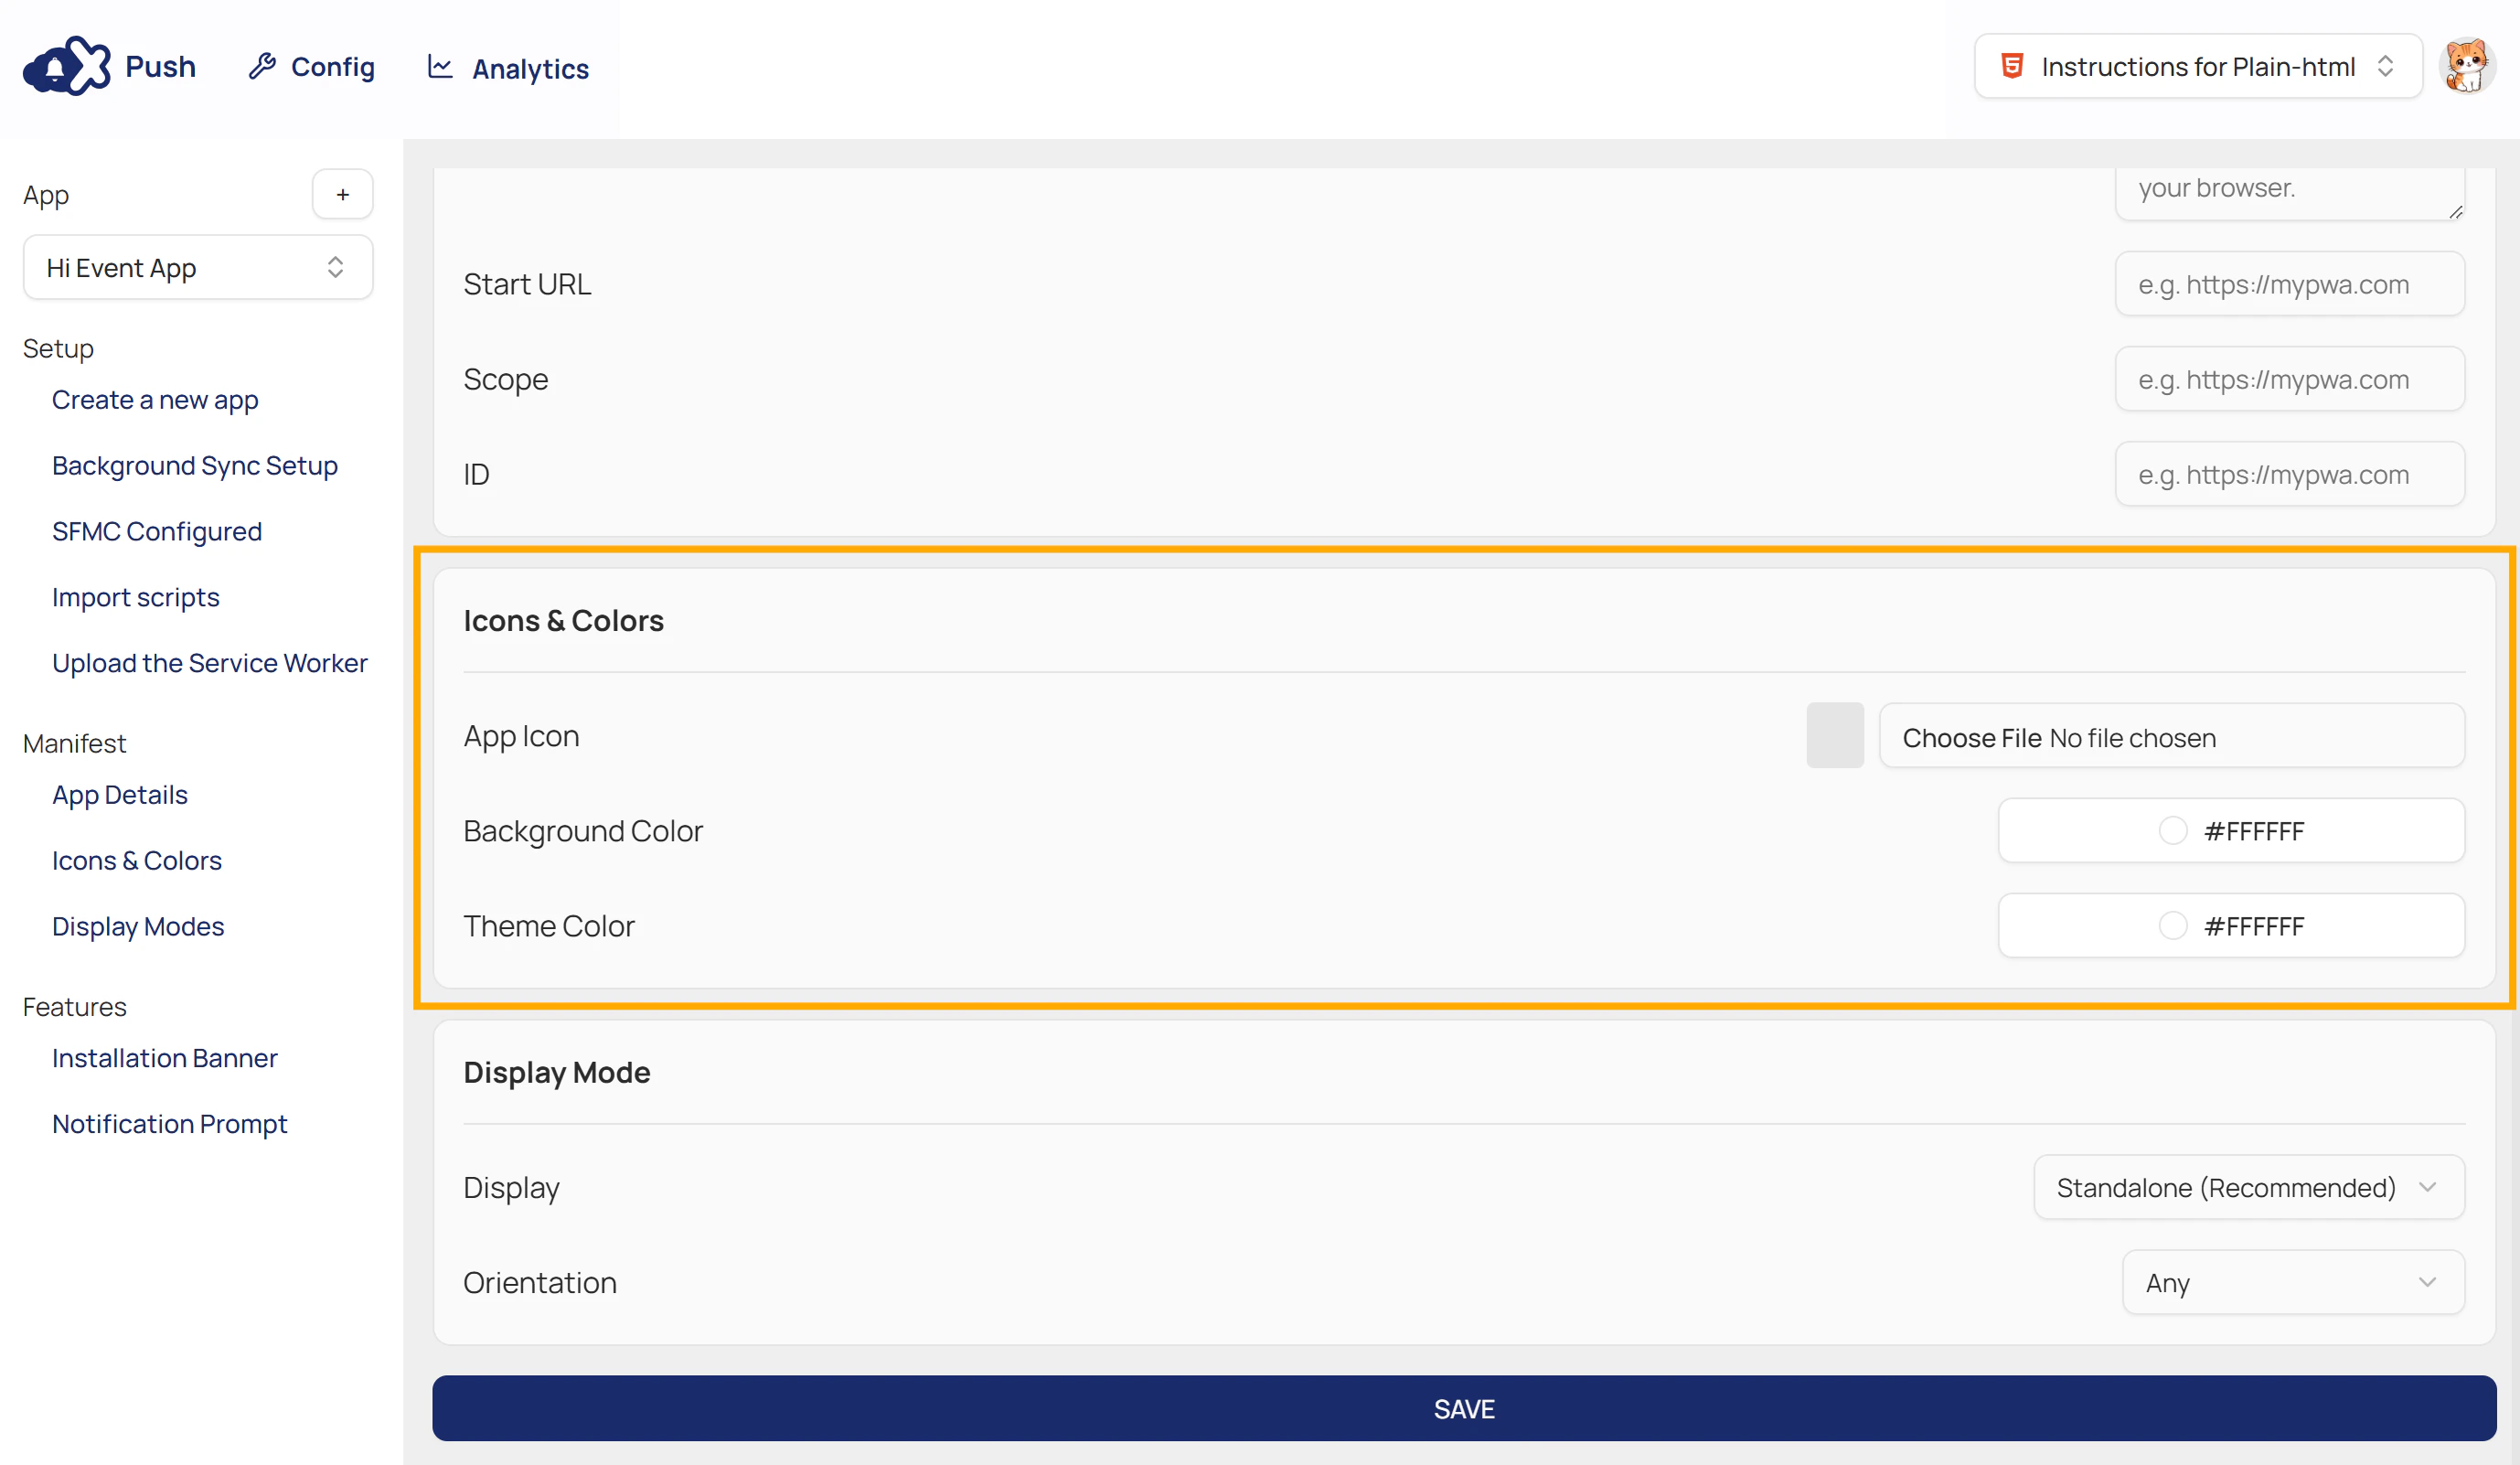
Icons and Colors
| Field | Description |
|---|---|
| App Icon | The icon displayed on the home screen after installation. |
| Background Color | The colour used for the background of the icon. |
| Theme Color | The primary colour applied to UI elements of the app. |
Display Mode
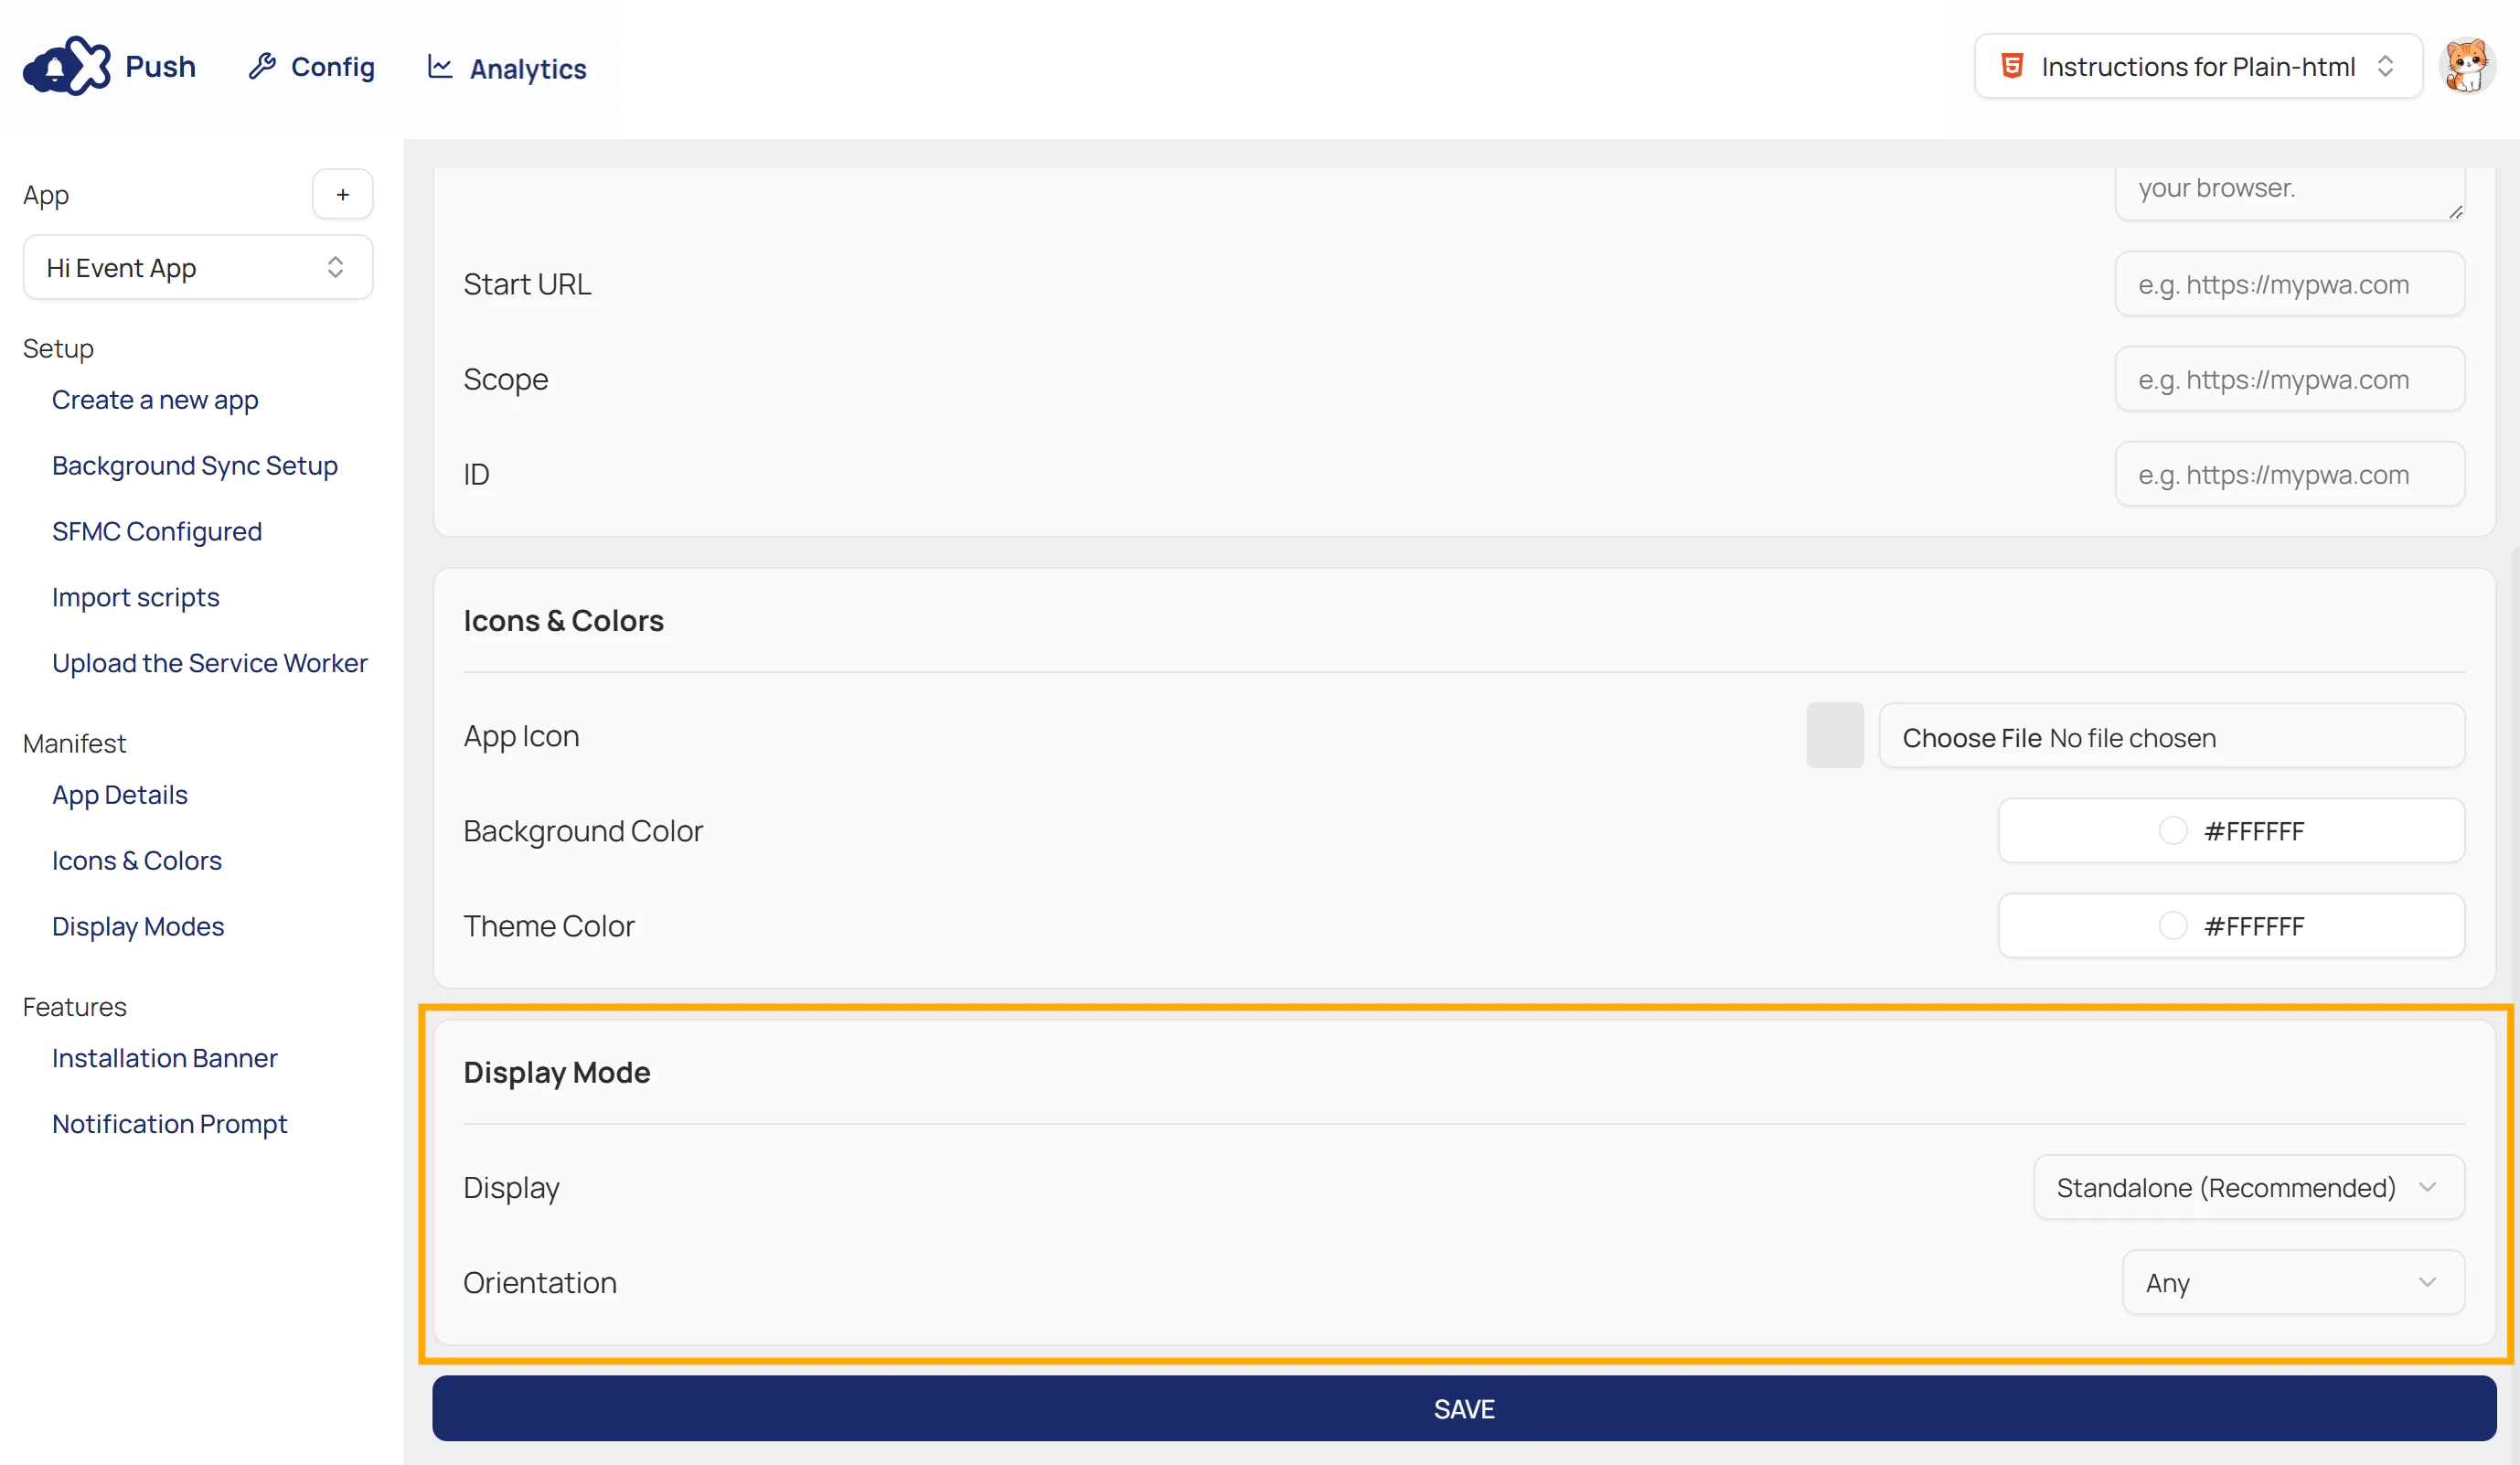
| Field | Description | Options |
|---|---|---|
| Display | Controls how the app appears when launched. | Standalone: The app runs in its own window, hiding standard browser UI elements like the address bar. (Recommended for an app-like experience) Fullscreen: The app runs in an immersive mode, taking up the entire display area without any browser or system UI Minimal UI: Provides a standard browser UI (address bar, back button) but keeps it minimal, providing some key navigation features. Browser: The app opens in a regular browser tab or window, using all the standard browser UI. |
| Orientation | Determines how the app is displayed on the device screen. | Any: Allows the device to select the best orientation. Natural: Defaults to the device’s default orientation (typically portrait). Portrait (Primary/Secondary): Locks the app to vertical display. (Primary/Secondary differentiate between the top or bottom of the device pointing up). Landscape (Primary/Secondary): Locks the app to horizontal display. (Primary/Secondary differentiate between the left or right of the device pointing up). |
- Click SAVE when done.
Step 3: Configure MCX Push Features: Installation Banner & Notification Prompt (Optional)
Under the Features category, you will find the settings for the Installation Banner and Notification Prompt.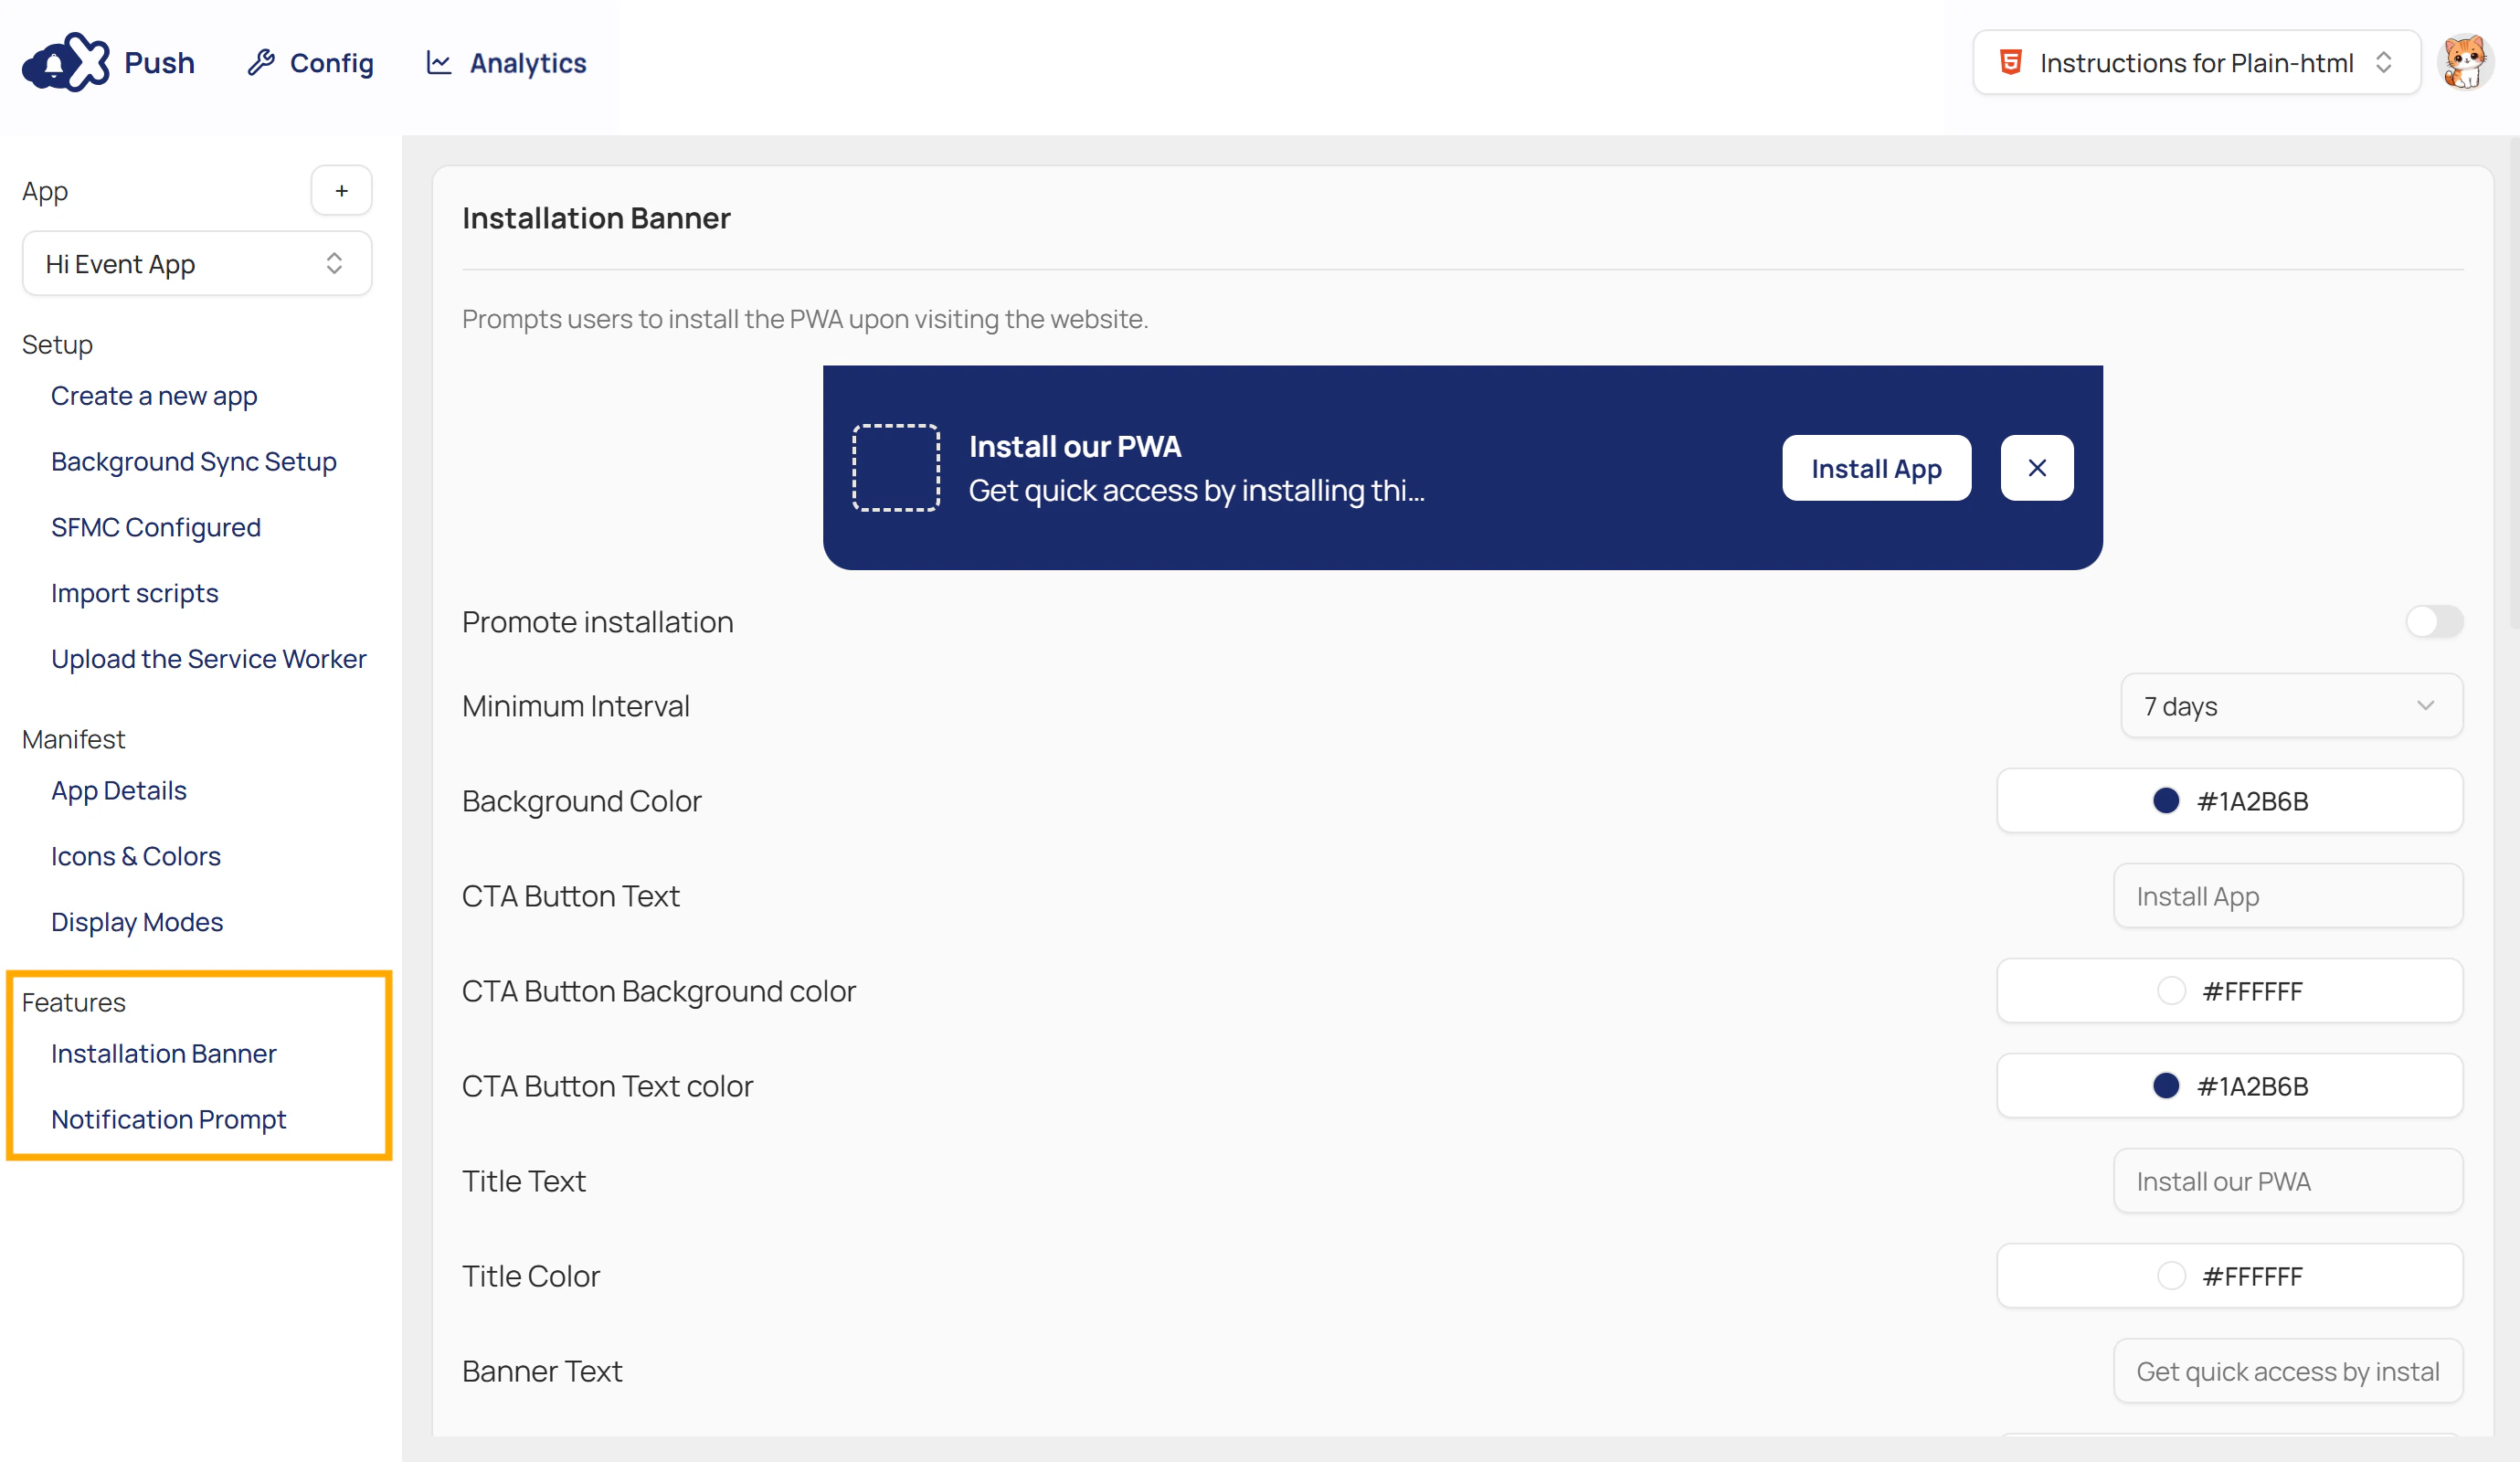
Customising PWA Installation Banner
- This banner prompts users to install your website as a when they visit it.

- To configure the banner, complete the fields in the table below.
| Field | Description |
|---|---|
| Promote installation | Switch to enable or disable the installation banner on your website. |
| Minimum Interval | The amount of time that must pass before the banner is shown again to a user who has previously dismissed it. |
| Background Color | Sets the background colour for the entire banner area. |
| CTA Button Text | The text displayed on the CTA button. |
| CTA Button Background Color | Sets the background colour for the main call-to-action (CTA) button, such as the “Install App” button. |
| CTA Button Text Color | Sets the colour of the text inside the CTA button. Ensure good contrast with the button’s background for readability. |
| Title Text | The main title displayed on the banner. This should be a short, clear call to action. |
| Title Color | Sets the colour of the banner’s main title text. |
| Banner Text | Displays the supporting message below the title, such as “Get quick access by installing this app.” |
| Description Color | Sets the colour of the descriptive text that appears below the title. |
| Dismiss Button Background Color | Sets the background colour of the dismiss button that allows users to close the banner. |
| Dismiss Button Text Color | Sets the colour of the text or icon (e.g., an ‘X’) on the dismiss button. |
| URL filters | Controls which pages the banner or prompt will appear on. You can enter specific URLs or URL patterns to either show or hide it on certain parts of your website. |
Configuring the Notification Prompt
- This prompt asks users to grant permission for your website to send them push notifications.
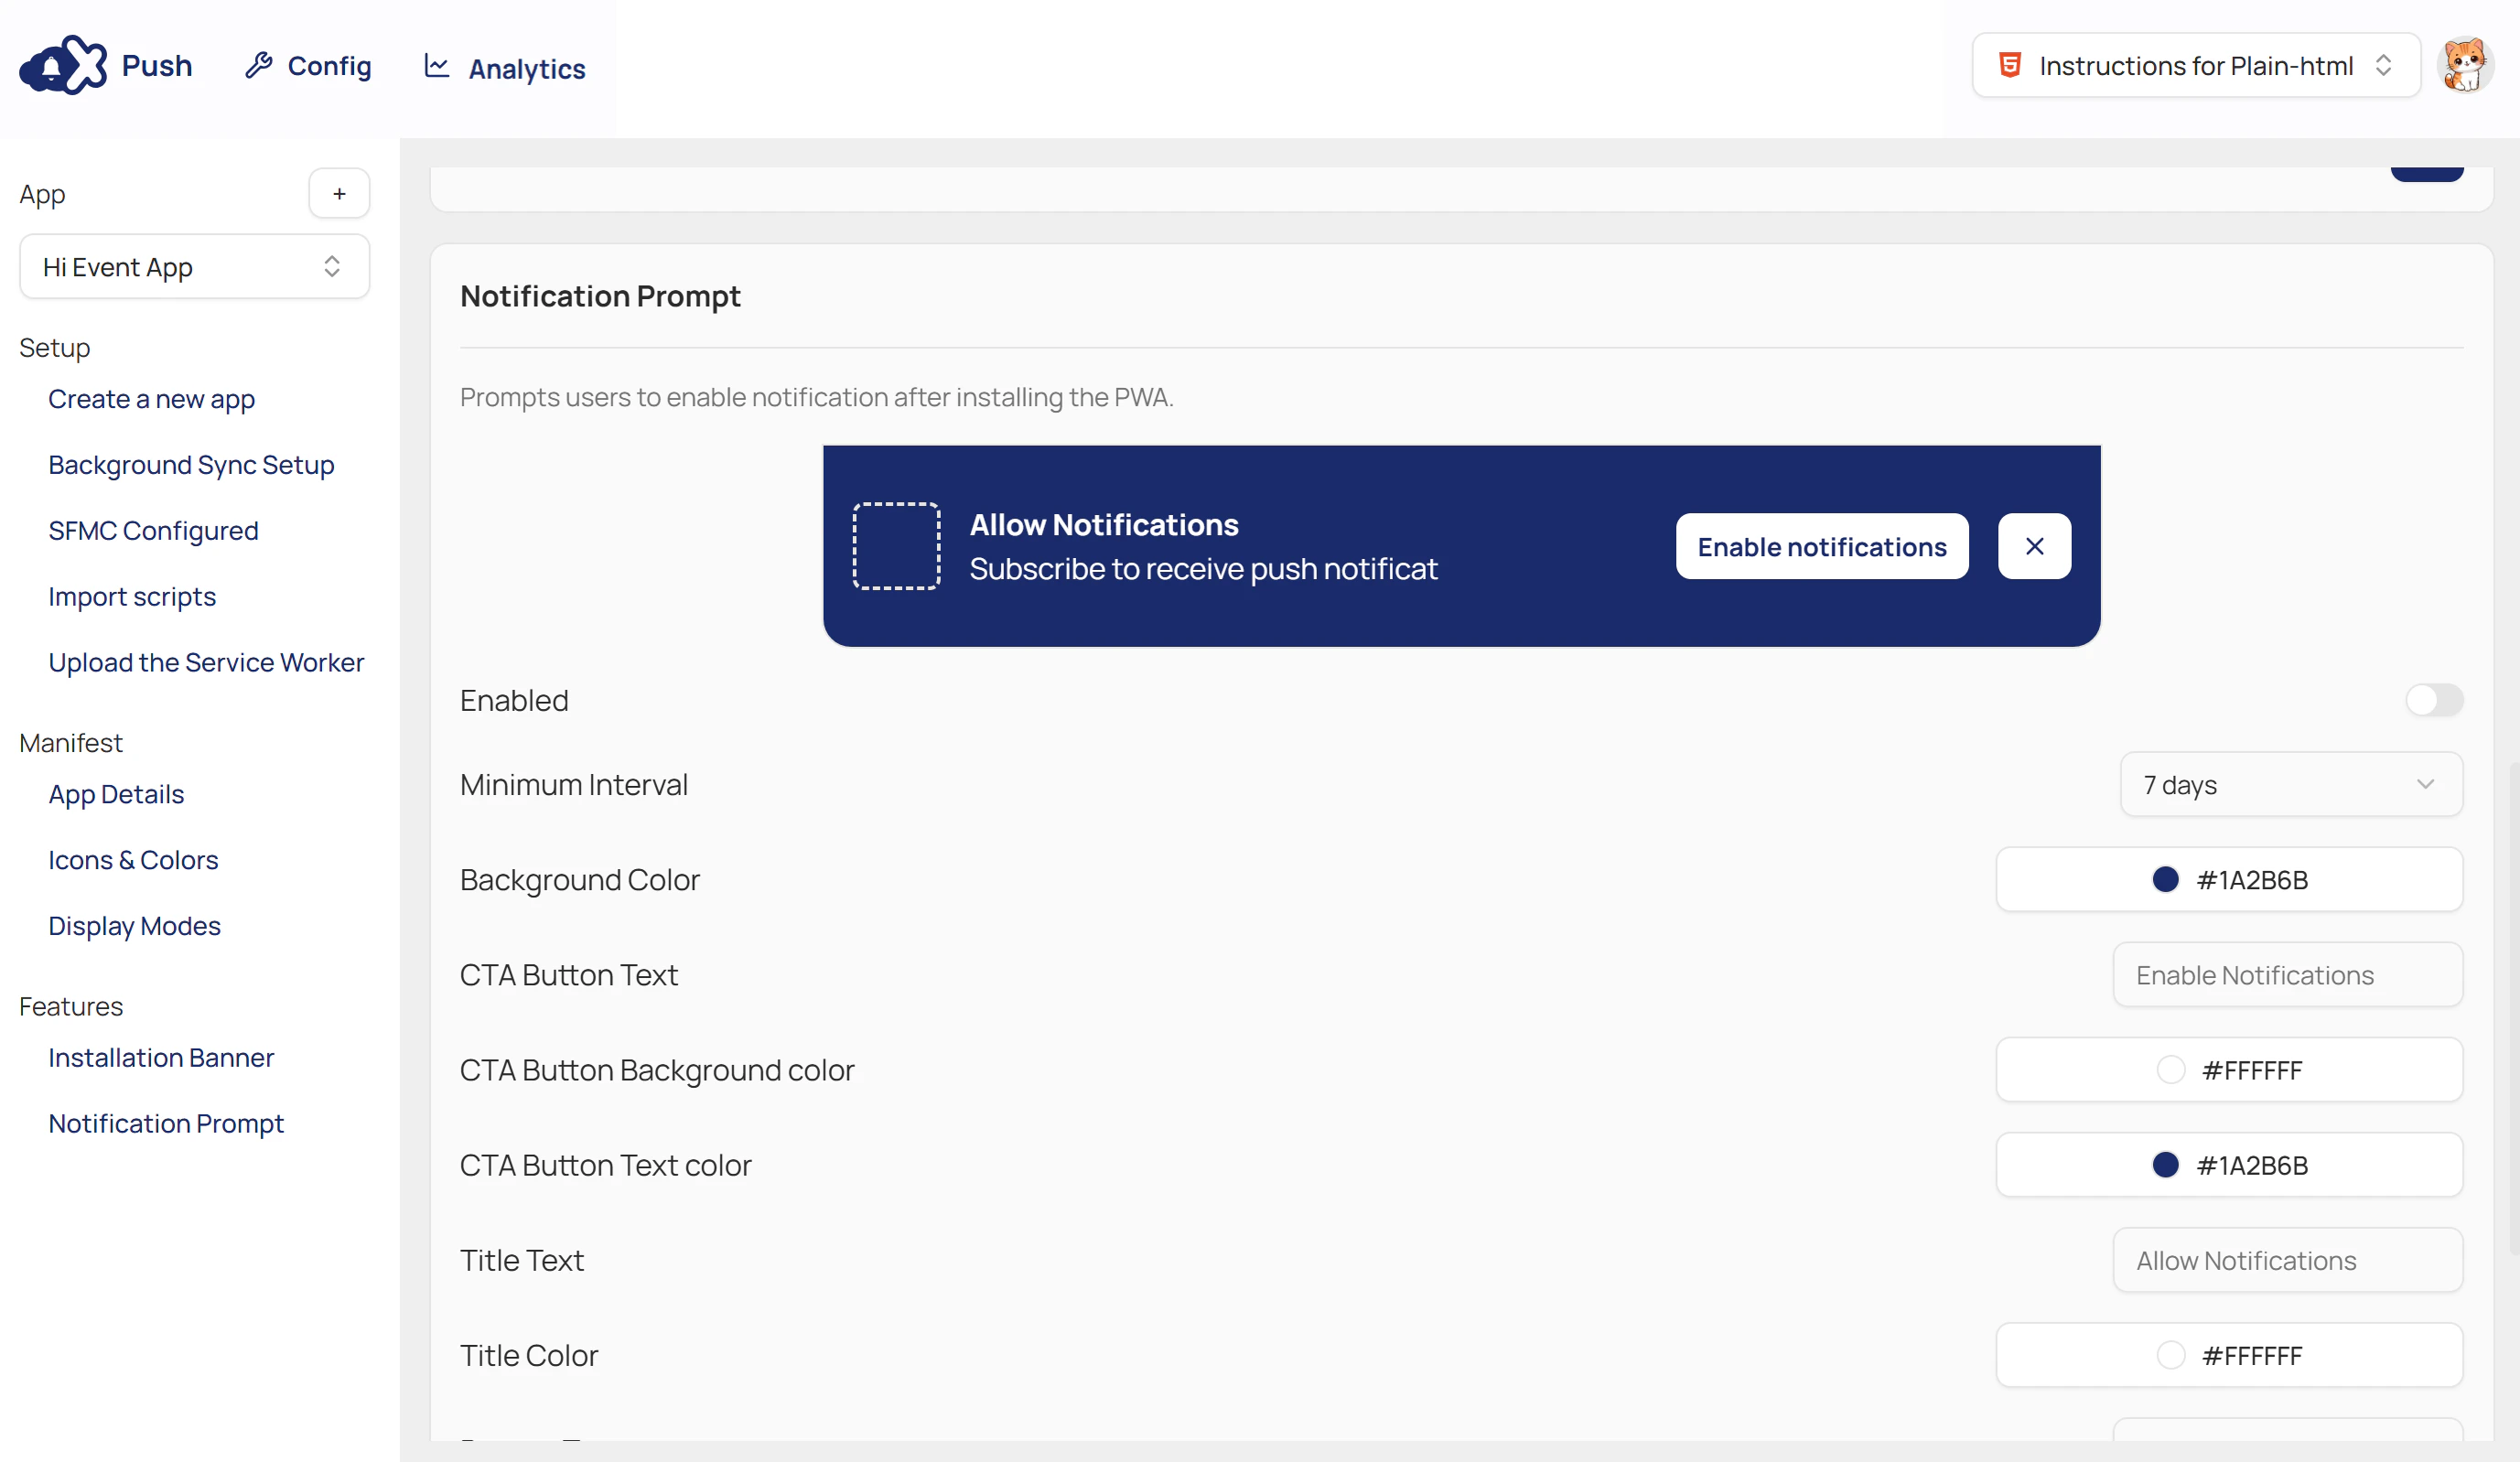
- To configure the banner, complete the fields in the table below.
| Field | Description |
|---|---|
| Enabled | Switch to enable or disable the notification prompt |
| Minimum Interval | The amount of time that must pass before the banner is shown again to a user who has previously dismissed it. |
| Background Color | Sets the background colour for the entire banner area. |
| CTA Button Text | The text displayed on the CTA button. |
| CTA Button Background Color | Sets the background colour for the main call-to-action (CTA) button, such as the “Install App” button. |
| CTA Button Text Color | Sets the colour of the text inside the CTA button. Ensure good contrast with the button’s background for readability. |
| Title Text | The main title displayed on the banner. This should be a short, clear call to action. |
| Title color | Sets the colour of the banner’s main title text. |
| Banner Text | Displays the supporting message below the title, such as “Subscribe to receive push notifications.” |
| Description Color | Sets the colour of the descriptive text that appears below the title. |
| Dismiss Button Background Color | Sets the background colour of the dismiss button that allows users to close the banner. |
| Dismiss Button Text Color | Sets the colour of the text or icon (e.g., an ‘X’) on the dismiss button. |
| URL filters | Controls which pages the banner or prompt will appear on. You can enter specific URLs or URL patterns to either show or hide it on certain parts of your website. |
- Click SAVE when done.
Step 4: Enable Push Subscription & App Installation
- Use these JavaScript functions to enable push subscriptions or installation. Ensure the
manifest.jsonandmcx-push.jssnippets are placed inside your HTML<head>tag.
mcxPush.showAppInstallPrompt()
Shows the prompt allowing visitors to install your site as a .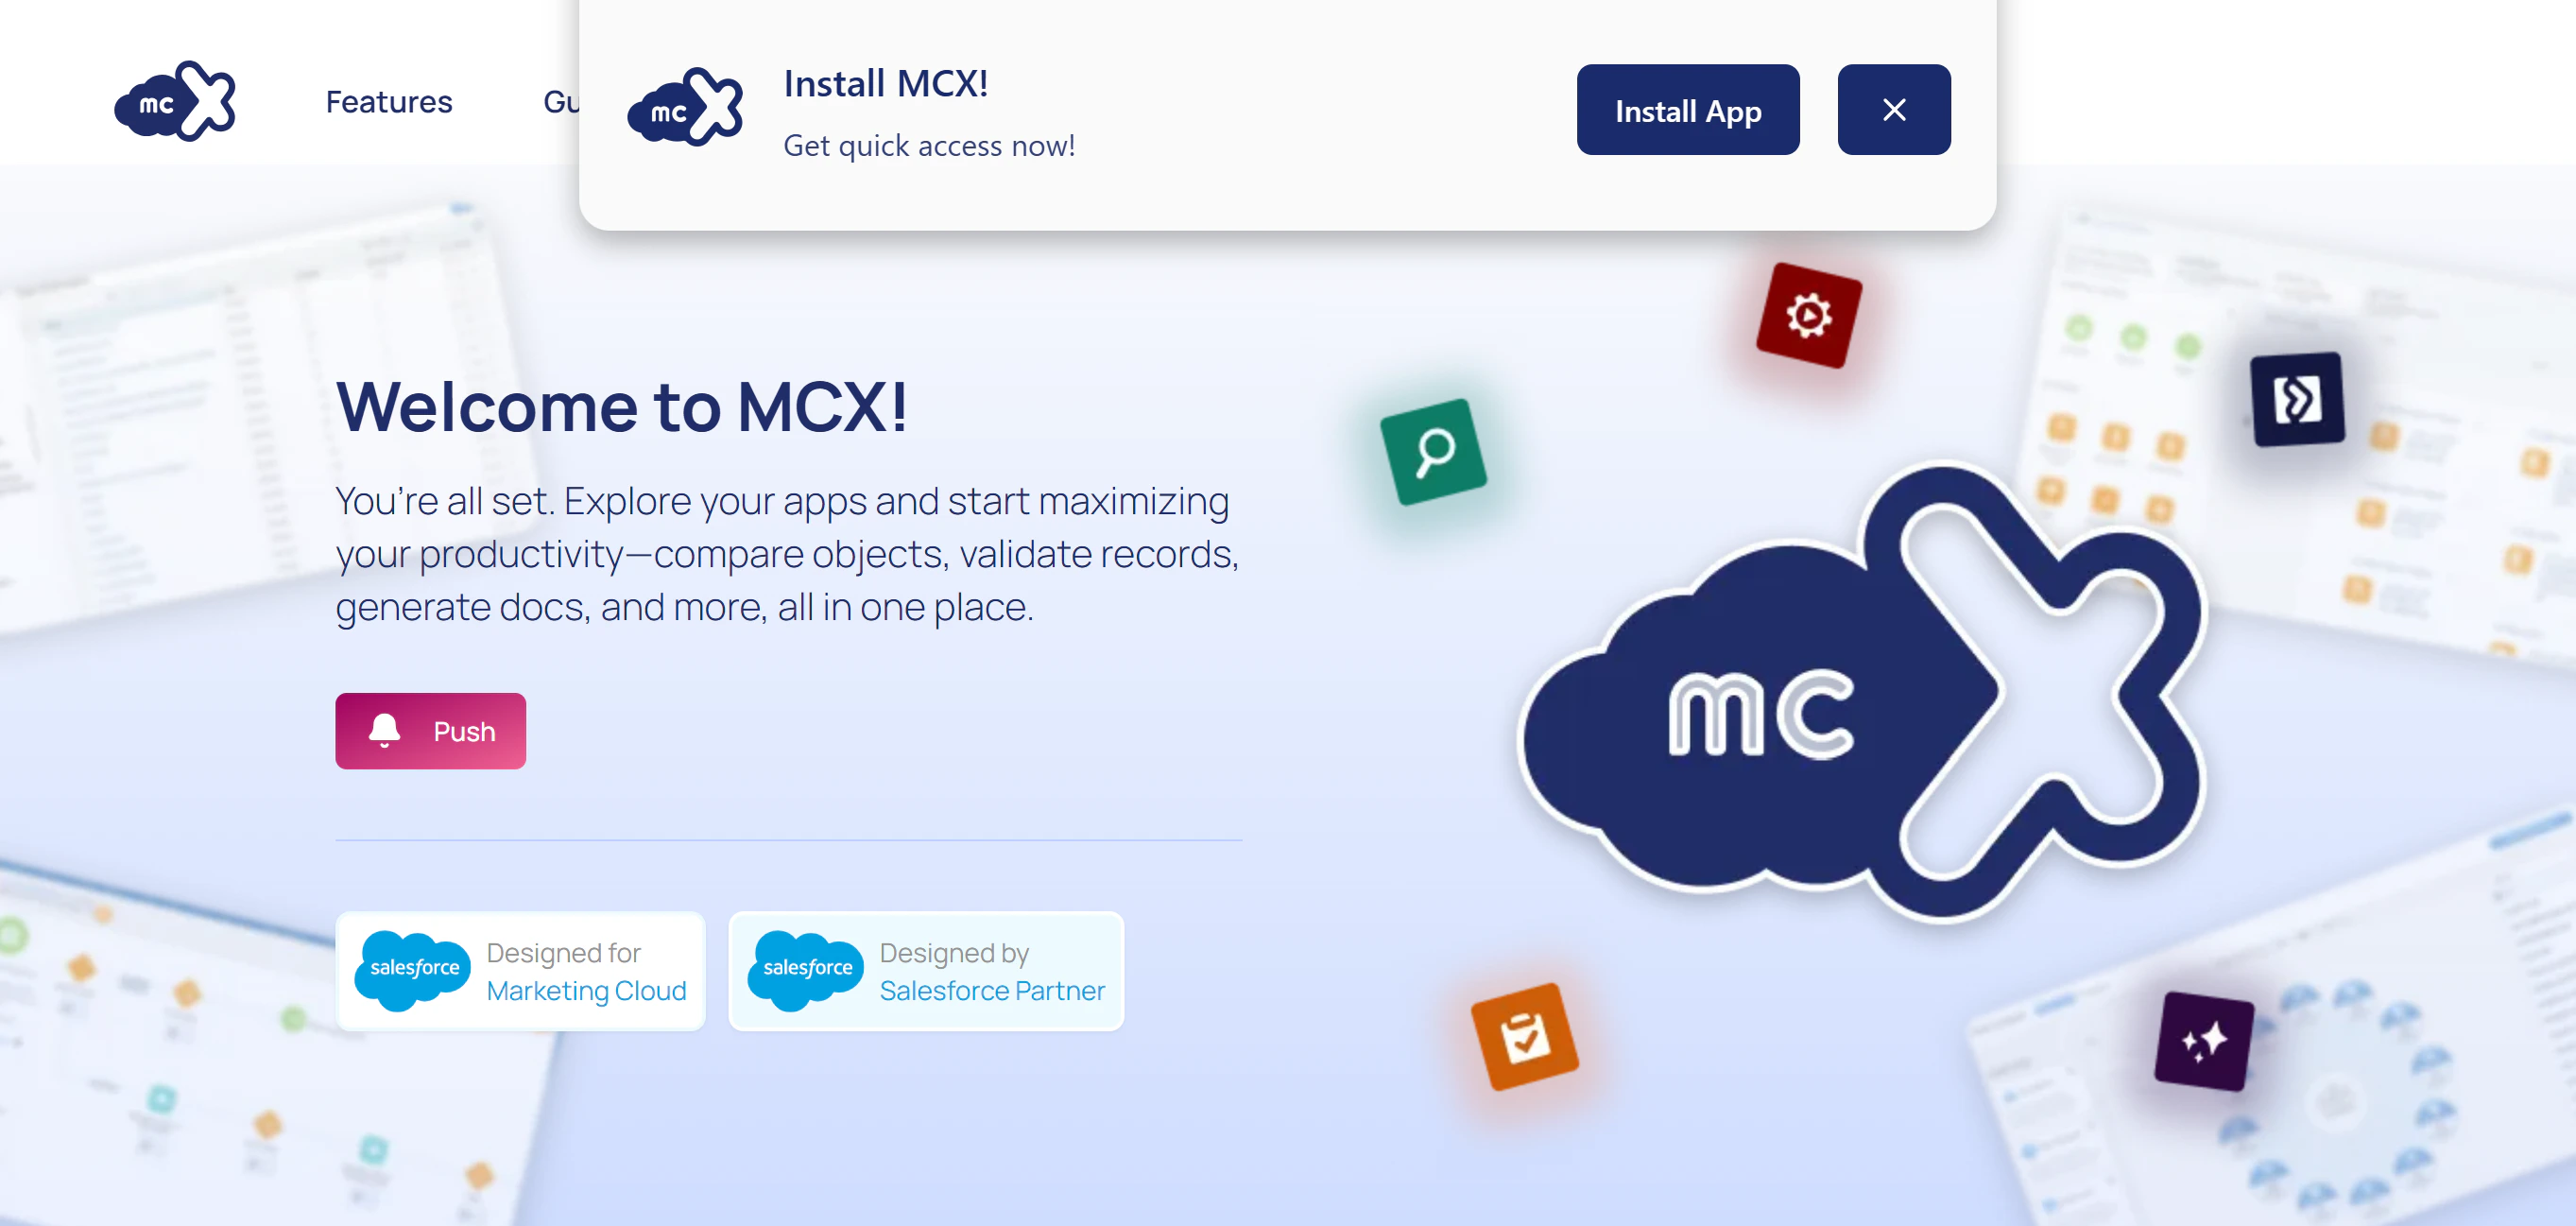
mcxPush.showNotificationPrompt()
Displays a prompt asking visitors to enable notifications.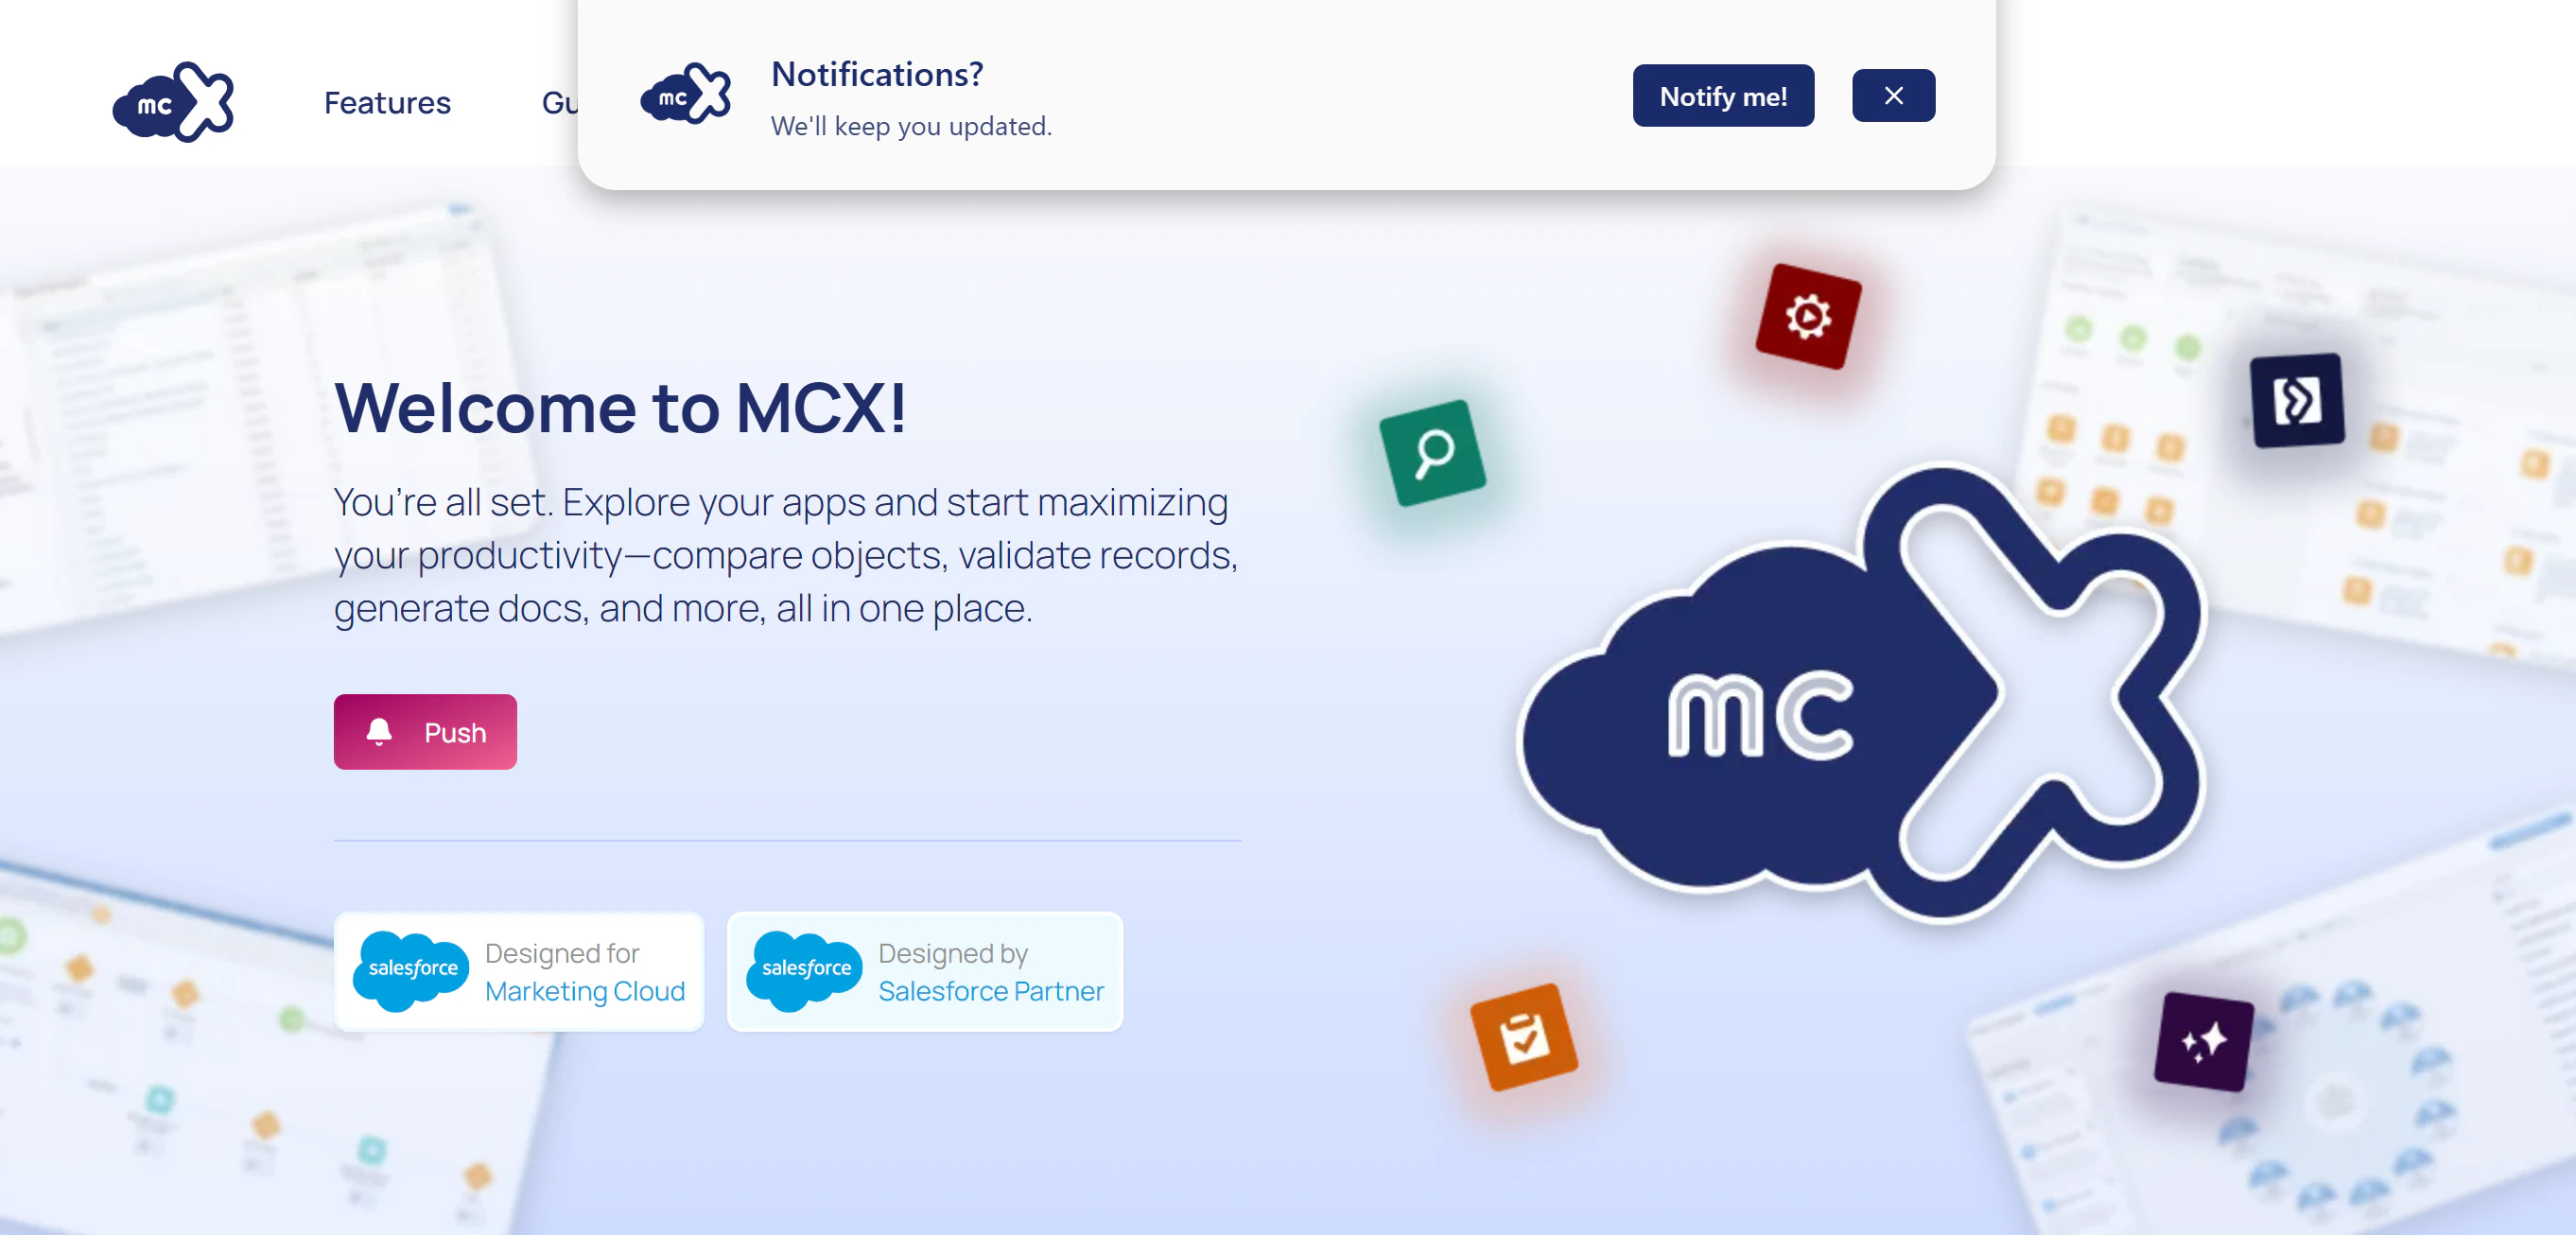
mcxPush.subscribe()
Triggers the notification permission prompt and subscribes the visitor once permission is granted. Use this function if you are using a custom subscribe button.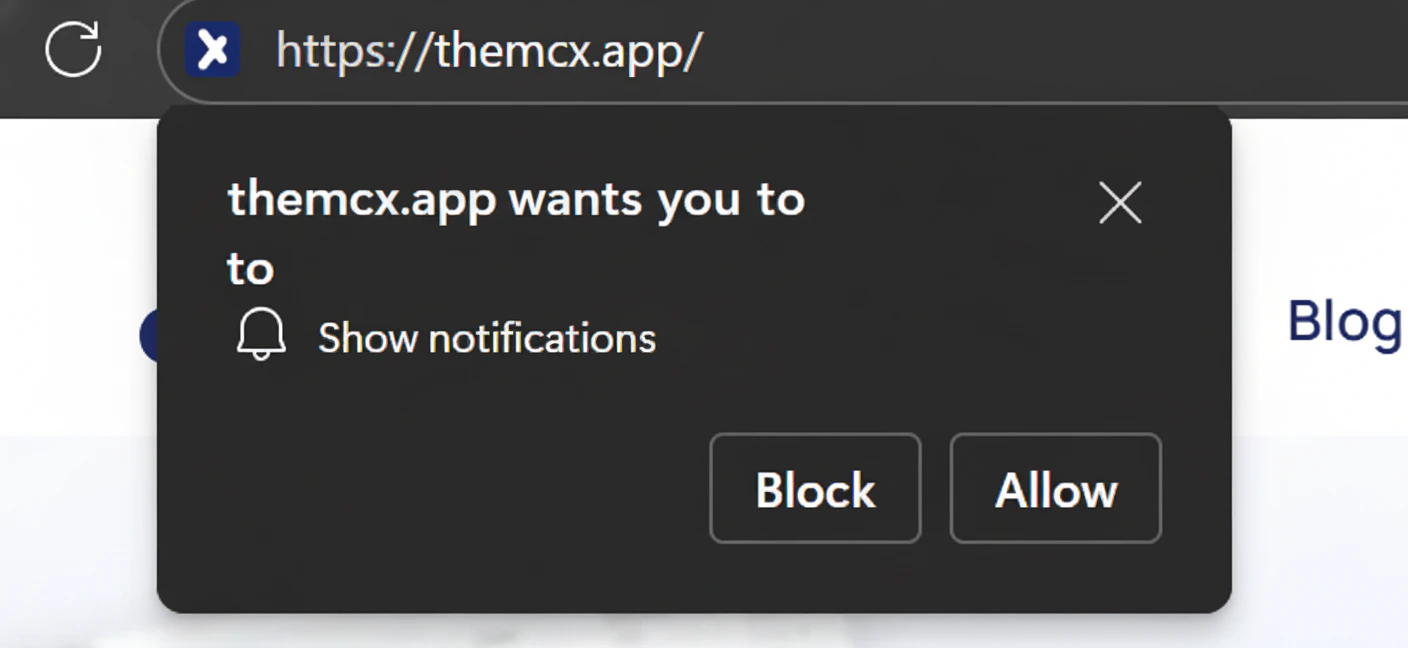
When users allow notifications, MCX Push saves their subscription record in the MCXPush_Subscription_<MID> data extension.
mcxPush.initialize()
Automatically displays the Installation Banner and Notification Prompt in sequence, according to the settings configured in the Features section of your dashboard.